Sure! Here’s a clear, beginner-friendly, and SEO-optimized article titled “Arduino A Quick Start Guide“ — perfect for tech blogs, tutorials, or If you’ve ever wanted to build your electronic gadgets, automate simple tasks, or dive into the world of robotics and IoT, Arduino is one of the best platforms to start with. It’s affordable, beginner-friendly, and supported by a huge global community.
In this quick start guide, you’ll learn what Arduino is, how it works, what you need to get started, and how to create your first project — even if you’ve never touched a circuit board before.
What is Arduino?
Arduino is an open-source electronics platform based on easy-to-use hardware and software. It consists of a programmable microcontroller (the “brain” of your project) and a development environment that allows you to write and upload code.
In simple terms:
Arduino is a tool that lets you control lights, motors, sensors, and more using code.
Why Use Arduino?
- 🧒 Beginner-friendly: No prior electronics or coding experience needed
- 🛠️ DIY Projects: Perfect for automation, smart home gadgets, sensors, and robots
- 🧑💻 Learn Programming: Uses a simple version of C/C++
- 🌐 Huge Community: Thousands of tutorials and open-source projects available
- 💸 Low-Cost: Starter kits available under $50
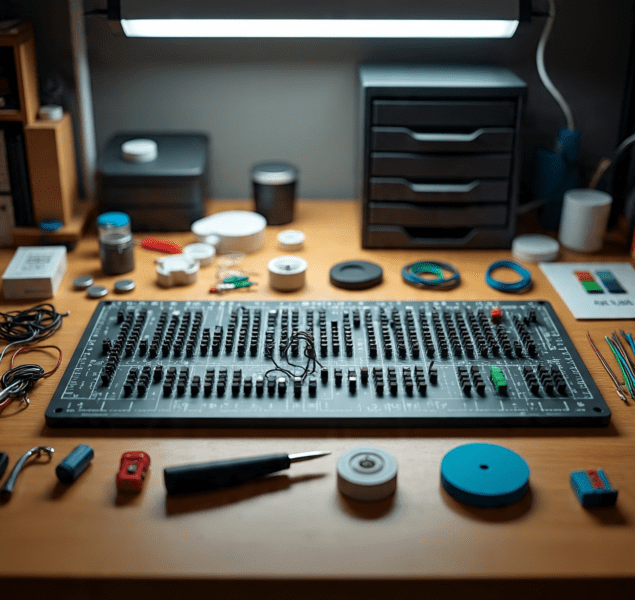
What You Need to Get Started
Here are the basics to begin your Arduino journey:
1. Arduino Board
The most common beginner board is the Arduino Uno. Others include:
- Arduino Nano (smaller projects)
- Arduino Mega (more memory and pins)
- Arduino Leonardo, Due, etc.
2. USB Cable
To connect the board to your computer for uploading code.
3. Breadboard and Jumper Wires
Used for connecting components without soldering.
4. Electronic Components
Depending on your project:
- LEDs
- Resistors
- Sensors (e.g., temperature, motion)
- Buttons
- Buzzers
- Motors
5. Arduino IDE (Software)
Free software for writing and uploading code to your board. Download from: https://www.arduino.cc/en/software
How Arduino Works
- Write Code in the Arduino IDE using a simplified version of C++.
- Upload Code to the Arduino board via USB.
- Run the Program — the microcontroller executes your instructions.
- Interact with the Real World using sensors (input) and actuators (output).
Your First Project: Blinking an LED
Let’s create a basic project to blink an LED on and off — the classic “Hello World” of Arduino.
📦 What You Need:
- Arduino Uno
- USB Cable
- 1 LED
- 1 Resistor (220 ohms)
- Breadboard
- Jumper wires
🔌 Wiring Diagram:
- LED Anode (+) to digital pin 13
- LED Cathode (-) to one end of the resistor
- The other end of the resistor to GND
Code Example:
void setup() {
  pinMode(13, OUTPUT); // Set pin 13 as output
}

void loop() {
  digitalWrite(13, HIGH); // Turn LED on
  delay(1000);            // Wait 1 second
  digitalWrite(13, LOW);  // Turn LED off
  delay(1000);            // Wait 1 second
}
▶️ Upload & Run:
- Connect your board via USB.
- Select your board and port from Tools > Board and Port.
- Click the Upload button (right arrow icon).
- Your LED should blink every second!
What Can You Build with Arduino?
Arduino can power thousands of fun and useful projects, including:
- Smart Home Devices – light automation, security sensors
- Weather Stations – using temperature, humidity, or barometric sensors
- Robotics – motor control, obstacle avoidance, line-following robots
- IoT Projects – connect with Wi-Fi using modules like ESP8266 or ESP32
- Wearable Tech – smart bands, LED costumes, step counters
- Educational Tools – electronic games, quizzes, and interactive displays
Arduino IDE: A Quick Overview
The Arduino IDE is where you write and test your code. Key sections include:
- Setup(): Runs once when the board powers on or resets
- Loop(): Runs repeatedly after setup()
Other helpful functions:
pinMode(pin, INPUT/OUTPUT)digitalWrite(pin, HIGH/LOW)digitalRead(pin)delay(milliseconds)
Tips for Beginners
- Start small: Focus on basic circuits like LEDs, buttons, and buzzers.
- Use tutorials: The Arduino website and YouTube are goldmines.
- Troubleshoot step-by-step: Double-check wiring and code.
- Label wires: Especially when dealing with many jumper cables.
- Document your projects: It helps you learn and share with others.
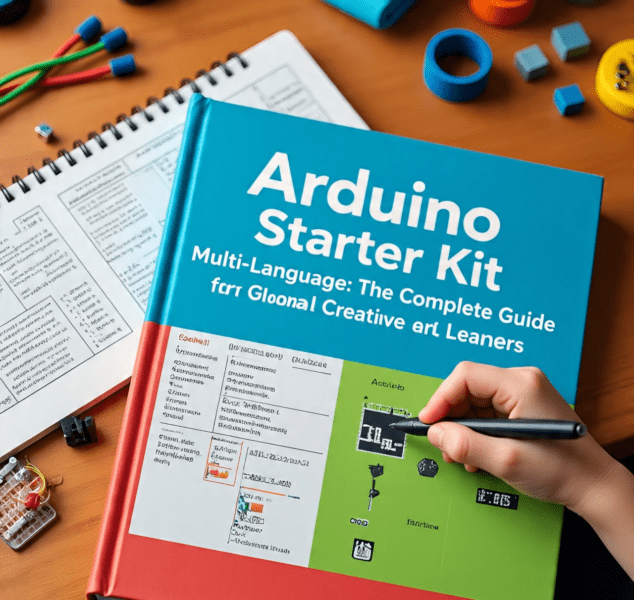
Arduino Starter Kit Recommendations
Here are some beginner kits worth checking out:
| Kit Name | Includes | Ideal For |
|---|---|---|
| Arduino Official Starter Kit | Uno board, parts, project book | Best quality, official docs |
| Elegoo Uno R3 Super Starter | Sensors, LCD, motors, remote | Best value for money |
| Freenove Complete Kit | 200+ components, tutorials | Advanced beginners |
Safety Notes
- Always disconnect power before changing wiring.
- Don’t short-circuit the board (e.g., connecting +5V to GND).
- Use resistors with LEDs to avoid burning them out.
- Avoid touching components while powered on.
Useful Arduino Resources
- 🔗 Official Arduino Tutorials
- 📘 Arduino Reference Guide
- 💬 Arduino Forum
- 🎥 [YouTube Channels: Paul McWhorter, DroneBot Workshop, Andreas Spiess]
Final Thoughts
Arduino is a fantastic gateway into the world of electronics, automation, and programming. Whether you’re a student, hobbyist, or tech enthusiast, learning how to use Arduino opens up endless creative possibilities.
Start simple, experiment often, and don’t be afraid to break things (safely). Every blinking LED or turning motor is a step closer to building something amazing.
FAQs
1. What is Arduino used for?
Answer:
Arduino is used to build electronic projects such as smart devices, robots, sensors, and home automation systems. It allows you to control electronic components using simple programming.
2. Do I need to know programming to start with Arduino?
Answer:
No prior programming experience is required. Arduino uses a simplified version of C/C++, and many beginner tutorials guide you step-by-step through your first coding projects.
3. Which Arduino board is best for beginners?
Answer:
The Arduino Uno is the most popular and beginner-friendly board. It offers a comprehensive set of features to support a wide range of projects and boasts a large support community.
4. Can I use Arduino without a breadboard?
Answer:
Yes, but a breadboard makes it easier to prototype and test circuits without the need for soldering. It’s beneficial for beginners to connect components like LEDs, buttons, and sensors.
5. Is Arduino suitable for kids and students?
Answer:
Absolutely! Arduino is widely used in schools and STEM programs to teach electronics, coding, and problem-solving. Many kits are designed specifically for young learners with step-by-step guides.