If you work in the film industry or are passionate about cinematography, you’ve probably come across the term ARRI Assist Tap SD at some point. But what exactly is it, and why is it important?
In this guide, we’ll break it down in simple terms. Whether you’re a beginner looking to understand what an assist tap does or a professional looking for details on ARRI’s SD version, this post has you covered.
By the end of this guide, you’ll know:
✔️ What an assist tap is and why it matters
✔️ How the ARRI Assist Tap SD works
✔️ The pros and cons of using it
✔️ How to set it up properly
✔️ Common issues and troubleshooting tips
Let’s dive in!
What is an Assist Tap in Filmmaking?
Before we talk about ARRI Assist Tap SD, let’s first understand what an assist tap is.
In professional filmmaking, cameras usually have an optical viewfinder, meaning the camera operator sees the exact image that is being captured. However, this makes it difficult for other crew members—like the director, focus puller, or script supervisor—to see what’s happening in real-time.
That’s where an assist tap comes in.
How It Works
An assist tap is an attachment that mounts onto the camera’s optical viewfinder and converts the image into a video signal. This signal can then be displayed on external monitors, making it easier for the rest of the crew to view the shot.
Now, let’s talk about ARRI’s Assist Tap SD specifically.
Understanding ARRI Assist Tap SD
ARRI is one of the most respected names in the film industry, and their Assist Tap SD is a widely used accessory for their classic film cameras.
What Does ‘SD’ Mean?
The SD in ARRI Assist Tap SD stands for Standard Definition. Unlike modern HD or 4K video taps, this system provides an SD analog video signal, which is lower in resolution but still effective for monitoring purposes.
Where Is It Used?
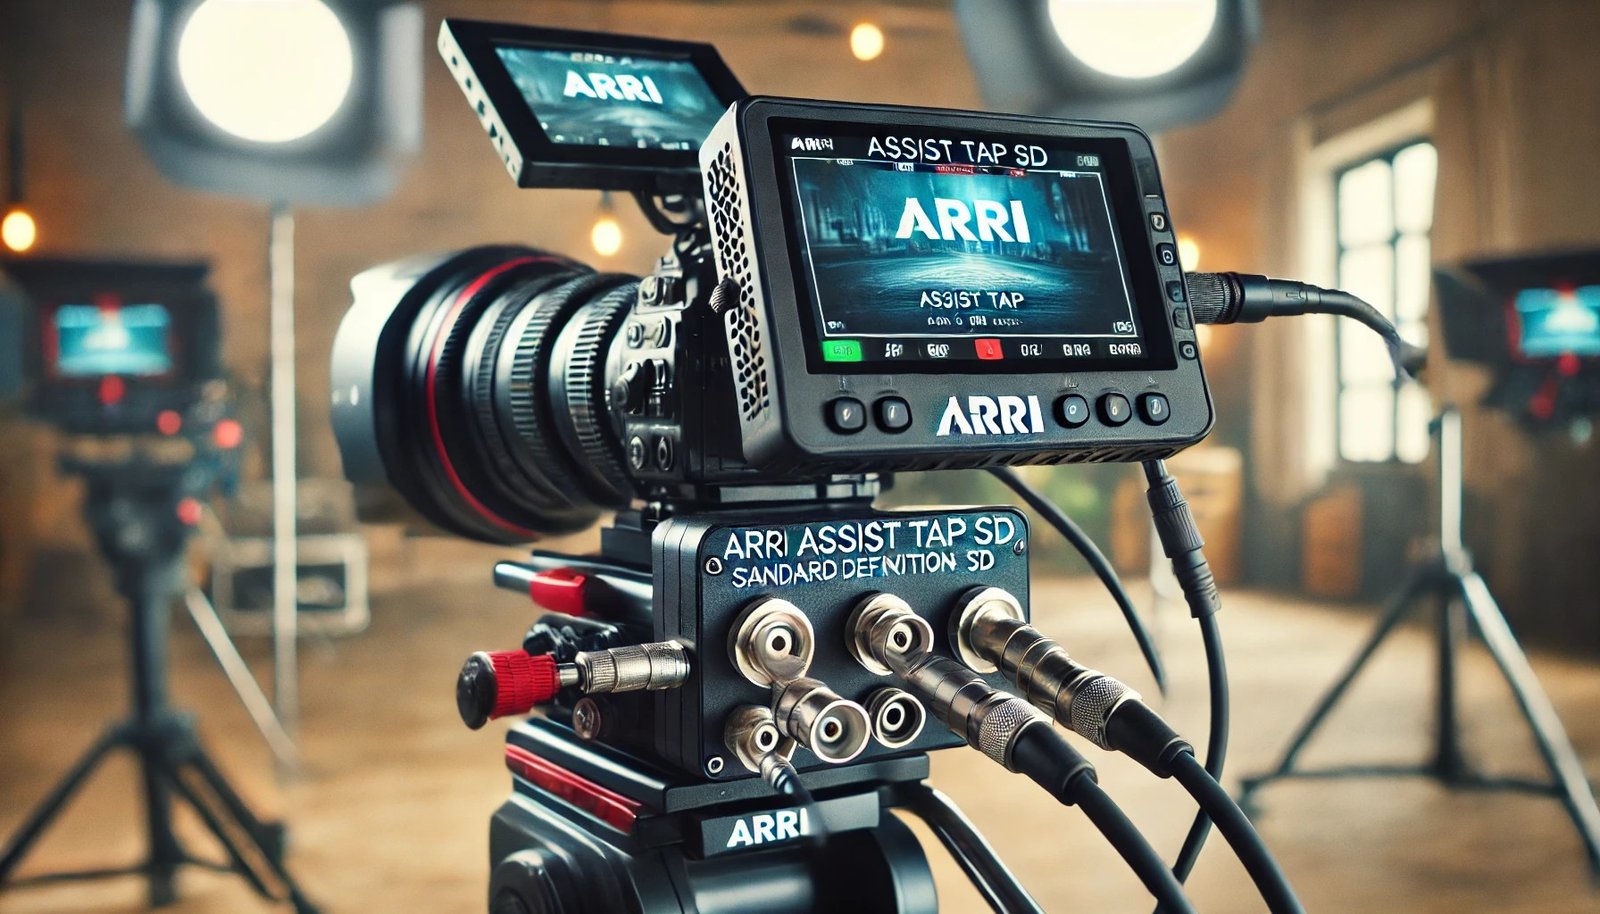
The ARRI Assist Tap SD is commonly used with film cameras like the ARRI 435, ARRICAM LT, and ARRICAM ST. These cameras, despite being analog, are still widely used in high-end productions, and the Assist Tap SD helps integrate them into modern workflows by allowing real-time monitoring.
Key Features of ARRI Assist Tap SD
If you’re considering using the ARRI Assist Tap SD, here are some of its main features:
1. Optical to Video Conversion
It takes the image from the camera’s optical viewfinder and converts it into an SD video signal that can be displayed on monitors.
2. Standard Definition (SD) Output
Since it outputs in SD resolution, the image quality is lower than HD or 4K, but it’s still clear enough for crew members to see framing and movement.
3. Compatibility with Film Cameras
It works perfectly with ARRI film cameras, making it a great option for productions still using 35mm or 16mm film.
4. BNC Video Output
It uses a BNC connector, which is a standard in the industry for video transmission.
5. Works with CRT & LCD Monitors
The SD output is compatible with older CRT monitors as well as newer LCD monitors with SD video inputs.
Pros and Cons of ARRI Assist Tap SD
Like any equipment, the ARRI Assist Tap SD has its strengths and limitations.
✅ Pros:
✔️ Real-time monitoring – Allows crew members to see what’s being filmed.
✔️ Durable & reliable – ARRI products are known for their build quality.
✔️ Compatible with industry-standard equipment – Works with most film camera setups.
✔️ Affordable compared to HD taps – SD taps are usually cheaper than modern HD assist taps.
❌ Cons:
❌ Lower resolution – SD quality is not as sharp as HD or 4K video taps.
❌ Requires additional monitors & cables – Needs a compatible SD monitor and a BNC cable to function.
❌ Limited availability – Since many productions are moving to digital, SD assist taps are becoming harder to find.
How to Set Up ARRI Assist Tap SD
If you’re using the ARRI Assist Tap SD for the first time, here’s a step-by-step guide to get it working properly:
Step 1: Attach the Assist Tap to the Camera
- Securely mount the assist tap to the camera’s optical viewfinder.
- Ensure it is properly aligned to get a clear video output.
Step 2: Connect the BNC Cable
- Find the BNC output port on the assist tap.
- Connect a BNC cable from the assist tap to the monitor.
Step 3: Power Up the System
- Ensure the camera and monitor are turned on.
- If the image does not appear, check the cable connections.
Step 4: Adjust Focus & Brightness
- Some assist taps allow for brightness and contrast adjustments.
- Adjust to get the clearest possible image.
Common Issues & Troubleshooting
Here are some common problems you might encounter and how to fix them:
❌ No Image on the Monitor
✔️ Check the BNC cable connections.
✔️ Ensure the monitor is set to the correct input.
✔️ Restart the camera and monitor.
❌ Blurry or Dark Image
✔️ Adjust the focus and brightness on the assist tap (if possible).
✔️ Ensure the assist tap is properly aligned with the viewfinder.
❌ Interference or Flickering
✔️ Check if the BNC cable is damaged.
✔️ Try using a different monitor to rule out display issues.
Conclusion
The ARRI Assist Tap SD is an essential tool for filmmakers using ARRI film cameras. While it may not have the high resolution of modern HD taps, it remains a reliable and cost-effective solution for real-time monitoring on set.
If you’re working with ARRI film cameras and need an assist tap, this is still a solid option—just make sure you have the right monitors and cables to go with it!
FAQs
❓ What is the main purpose of an ARRI Assist Tap SD?
It converts the optical viewfinder image into an SD video signal for external monitoring.
❓ Can I use the ARRI Assist Tap SD with modern digital cameras?
No, it is specifically designed for ARRI film cameras.
❓ Is SD resolution good enough for professional use?
Yes, while SD is lower in resolution, it’s still sufficient for framing and monitoring during a shoot.
❓ Where can I buy an ARRI Assist Tap SD?
You can find them on used film equipment marketplaces, rental houses, or directly from ARRI resellers.
❓ What type of monitor do I need for an ARRI Assist Tap SD?
Any monitor with an SD video input (BNC connection) will work.


Leave a Reply